Phone: +49 7142 938-0 | E-Mail: info@geiger.de
Phone: +49 7142 938-0 | E-Mail: info@geiger.de
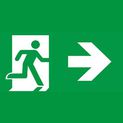
The § 33 Musterbauverordnung (MBO) - German standard building regulations - requires the exis- tence, for each floor, of at least two independent emergency exits.

One of them must comply with the regulations defining the first emergency exit. The first emergency exit enables people to quickly leave a danger zone. It leads either directly into the open air or into a secured area, such as corridors, stairs and exits.

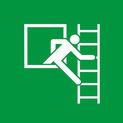
Unlike the first emergency exit that is strictly regulated and clearly defined, the second emergency exit can be interpreted in different ways and faces countless solutions. Until now, uniform regulations have not been applied throughout the country.
For sun protection manufacturers, architects and planners, this represents a huge challenge in terms of design and implementation and might lead to conflicts.
Especially if the fire safety requirements for the second emergency exit are not respected. Further- more, aesthetic aspects, historic preservation regu- lations, constructive environment and, last but not least, costs have to be reconciled in a constructive dialogue.
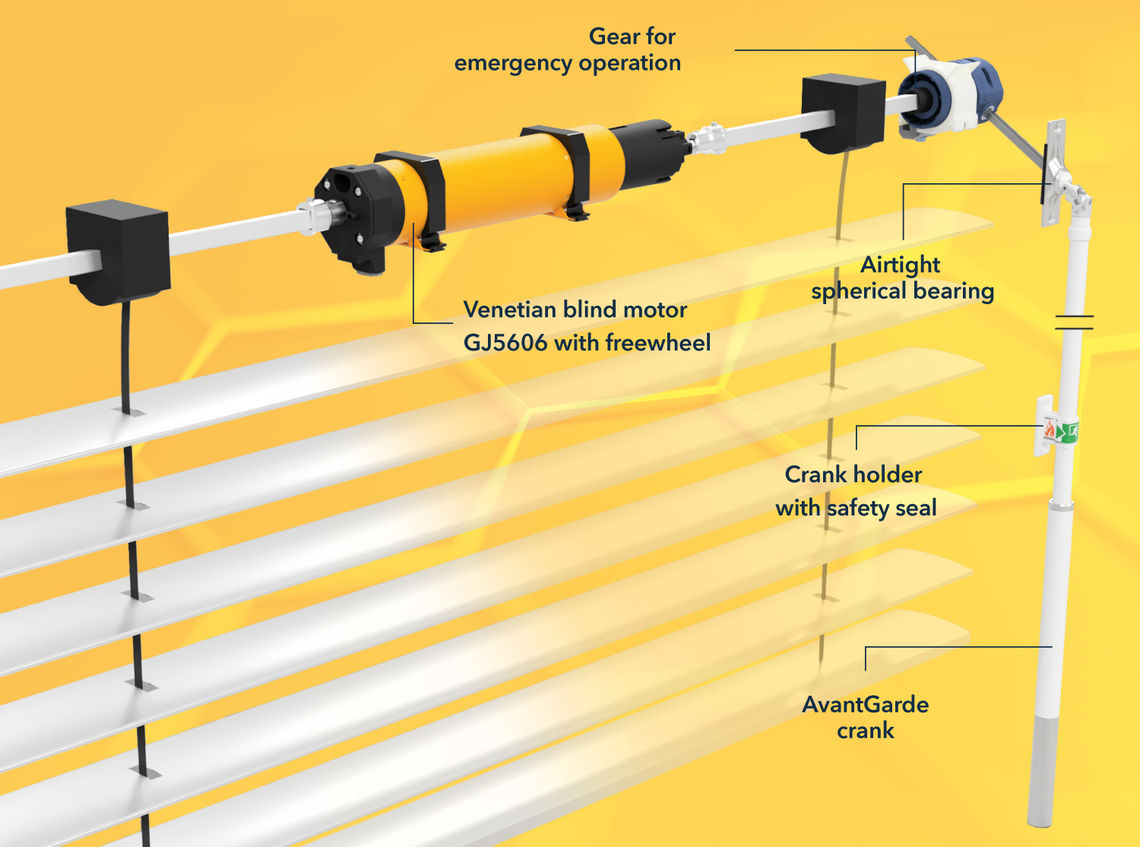
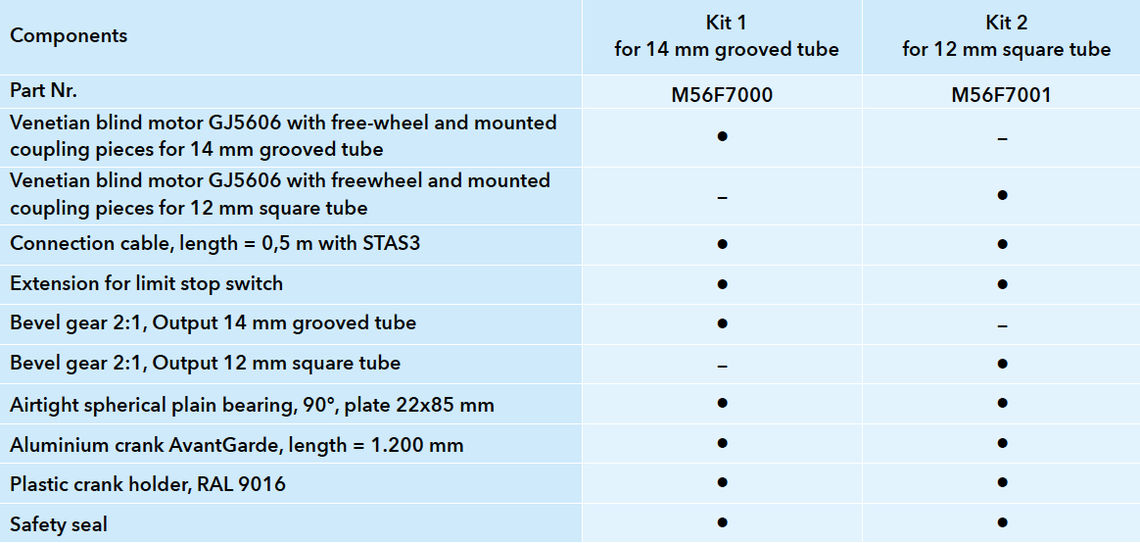
The sophisticated design of the RESCUE-J can be easily integrated into all commercially available top rails. All components are dimensionally designed in such a way that only the crank handle has to be installed inside the building.

RESCUE-J comes into action if the external Venetian blind cannot be opened electrically in the event of a fire. Simply pull the crank out of the holder, push the sleeve of the AvantGarde crank upwards and bend and turn the crank. The safety seal serves as a visual indication that the crank should only be operated in an emergency.
By operating the emergency hand crank, the freewheel is triggered and a regular clacking sound may be heard.
No action is required when recommissioning the GJ5606 drive. If the shutter has been opened with the crank, the crank should be turned a quarter of a turn in the opposite direction before being put back into operation in order to relieve the gear and prevent the crank from turning during motor operation.
Insert the motor with freewheel, dampers and the mounted coupling pieces into the top rail. Secure the motor with the clamping bracket/clamping bridge and lock it with the safety lever. Push the turning bars into the coupling pieces.
Insert the gear holder on the side and secure it with a screw if necessary. Insert the gear into the holder, paying attention to the alignment of the drive through.
If a specific direction of crank rotation is desired, the gear can be rotated axially by 180°.
NOTE: Operation by crank is only possible in the UP direction.
